一步一步PWN路由器之环境搭建
前言
本文由 本人 首发于 先知安全技术社区: https://xianzhi.aliyun.com/forum/user/5274
正式进入路由器的世界了。感觉路由器这块就是固件提取,运行环境修复比较麻烦,其他部分和一般的 pwn 差不多。由于大多数路由器是 mips 架构的,本文就以搭建 MIPS运行、调试平台 为例介绍环境的搭建。其他架构类似。
正文
安装 与 配置 Qemu:
apt-get install qemu
apt-get install qemu-user-static
apt-get install qemu-system
apt-get install uml-utilities
apt-get install bridge-utils
配置网络
方法一(推荐)
创建网桥,名字是 virbr0
sudo brctl added virbr0
sudo ifconfig virbr0 192.168.122.1/24 up
创建 tap 接口,名字为 tap0,并添加到网桥
sudo tunctl -t tap0
sudo ifconfig tap0 192.168.122.11/24 up
sudo brctl addif virbr0 tap0
然后运行
sudo qemu-system-mips -M malta -kernel mips_vmlinux-3.2.0-4-4kc-malta -hda debian_wheezy_mips_standard.qcow2 -append "root=/dev/sda1 console=tty0" -netdev tap,id=tapnet,ifname=tap0,script=no -device rtl8139,netdev=tapnet -nographic然后在 虚拟机里面设置 ip
sudo ifconfig eth0 192.168.122.12/24 up来源
https://blog.csdn.net/RichardYSteven/article/details/54807927方法二
修改 /etc/network/interfaces :
auto lo
iface lo inet loopback
# ubuntu 16.04的系统用ens33代替eth0
auto eth0
iface eth0  inet manual
up ifconfig eth0  0.0.0.0 up
auto br0
iface br0 inet dhcp
bridge_ports eth0
bridge_stp off
bridge_maxwait 1
修改 /etc/qemu-ifup :
#!/bin/sh
echo "Executing /etc/qemu-ifup"
echo "Bringing $1 for bridged mode..."
sudo /sbin/ifconfig $1 0.0.0.0 promisc up
echo "Adding $1 to br0..."
sudo /sbin/brctl addif br0 $1
sleep 3
增加权限 chmod a+x /etc/qemu-ifup.
重启网络服务
/etc/init.d/networking restart下载与运行qemu的镜像
uclibc交叉编译工具链 和 qemu系统镜像
https://www.uclibc.org/downloads/binaries/0.9.30.1/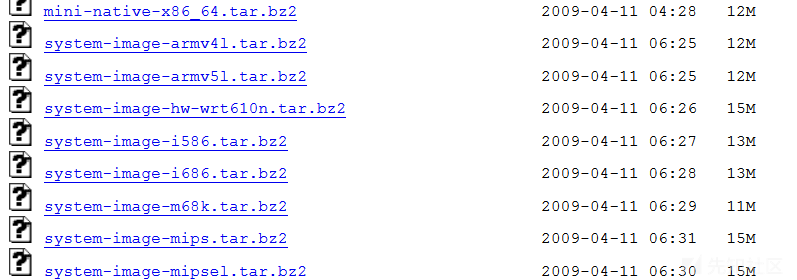
运行示例(解压,运行即可)
sudo qemu-system-mips -M malta -nographic -no-reboot -kernel "zImage-mips" -hda "image-mips.ext2" -append "root=/dev/hda rw init=/usr/sbin/init.sh panic=1 PATH=/usr/bin console=ttyS0" -net nic -net tap -drive file=/tmp/share.img
openwrt预先编译好的内核,mips小端
https://downloads.openwrt.org/snapshots/trunk/malta/generic/
运行
sudo qemu-system-mipsel -kernel openwrt-malta-le-vmlinux-initramfs.elf -M malta -drive file=/tmp/share.img -net nic -net tap -nographicdebian mips qemu镜像
https://people.debian.org/~aurel32/qemu/mips/
sudo qemu-system-mips -M malta -kernel vmlinux-2.6.32-5-4kc-malta -hda debian_squeeze_mips_standard.qcow2 -append "root=/dev/sda1 console=tty0" -net nic -net tap -nographic时间比较长
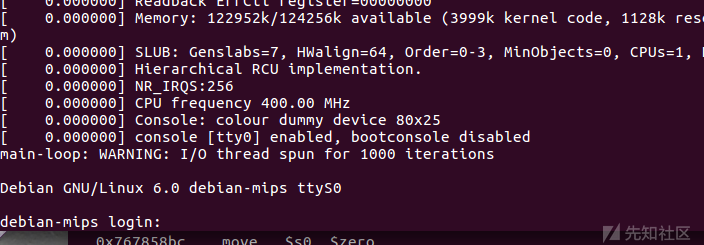
安装pwndbg
一个类似于 peda的gdb插件,支持多种架构,pwn最强gdb插件。用了它之后发现ida的调试简直渣渣。一张图说明一切。
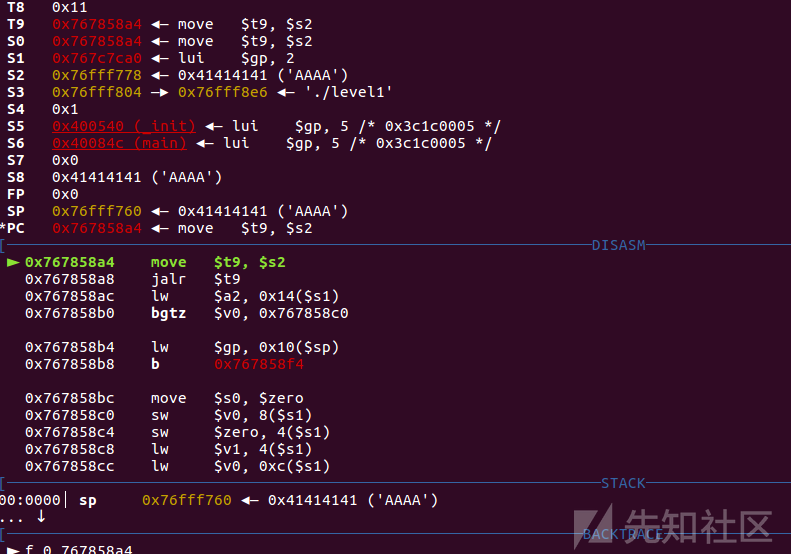
安装的话按照github上的说明即可。
https://github.com/pwndbg/pwndbg要用来调试MIPS的话,要安装
sudo apt install gdb-multiarch然后按照正常的gdb使用就行。

安装firmadyne
一个路由器运行环境,傻瓜化操作,但是无法调试......
https://github.com/firmadyne/firmadyne安装mipsrop插件
貌似其他的rop工具都不能检测处mips的 gadgets,这个不错。
https://github.com/devttys0/ida/tree/master/plugins/mipsrop扔到ida的plug目录即可
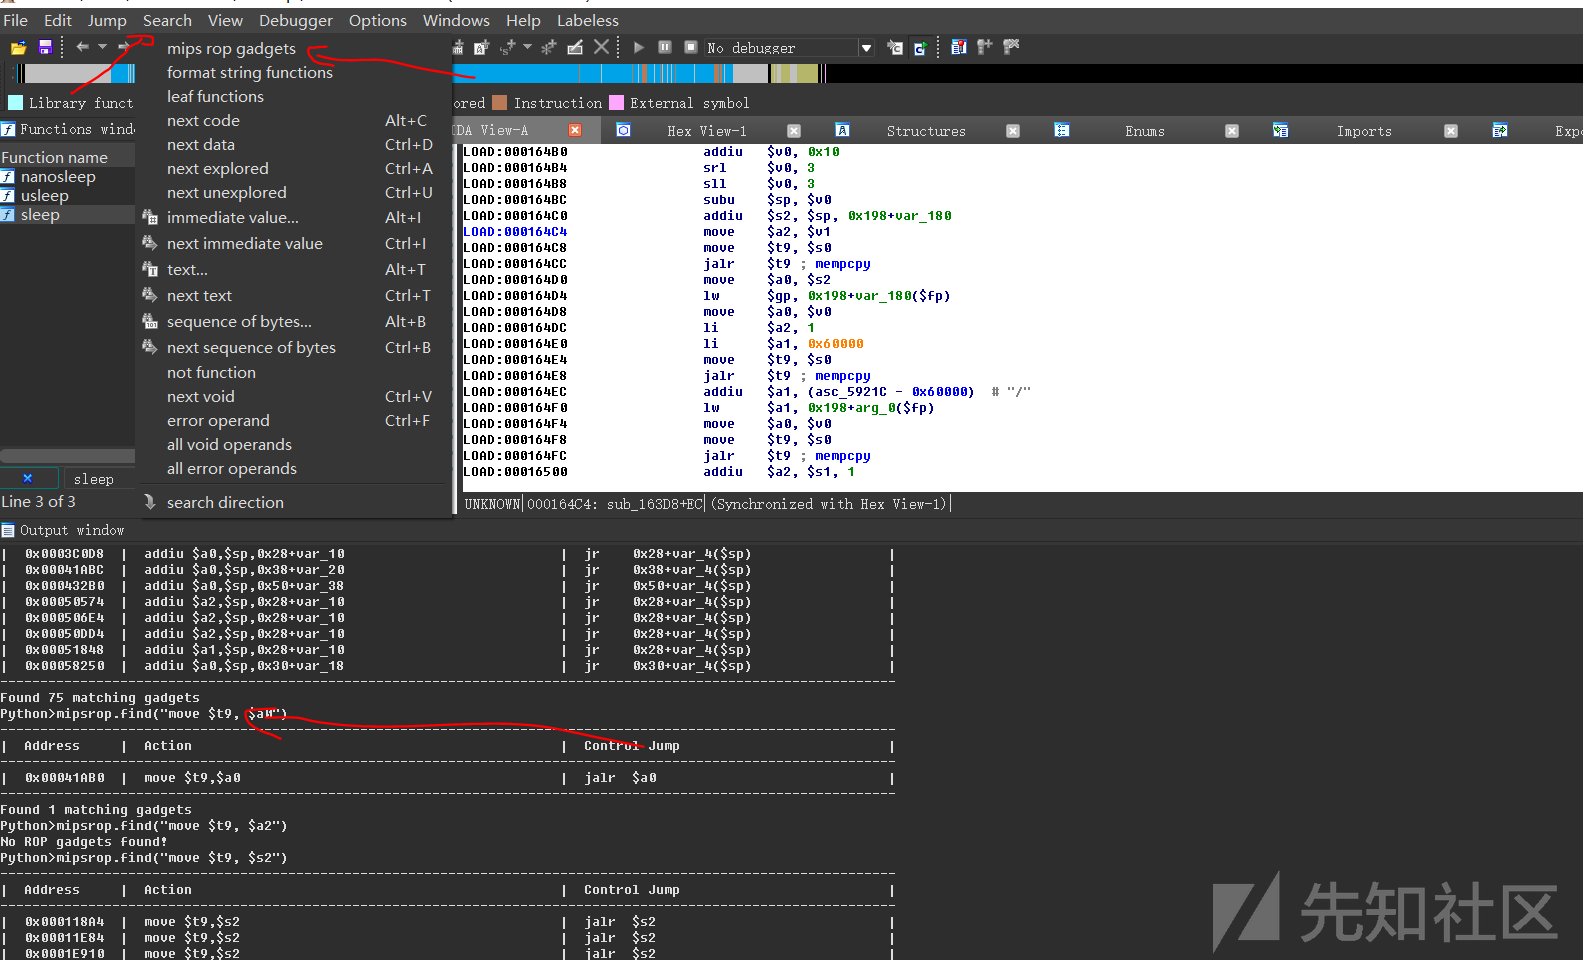
安装 PleaseROP 插件
jeb 2.3+ 的适用于arm , mips通用 rop gadgets搜索插件
下载后放到jeb根目录的 coreplugins 目录下,重新打开Jeb即可。
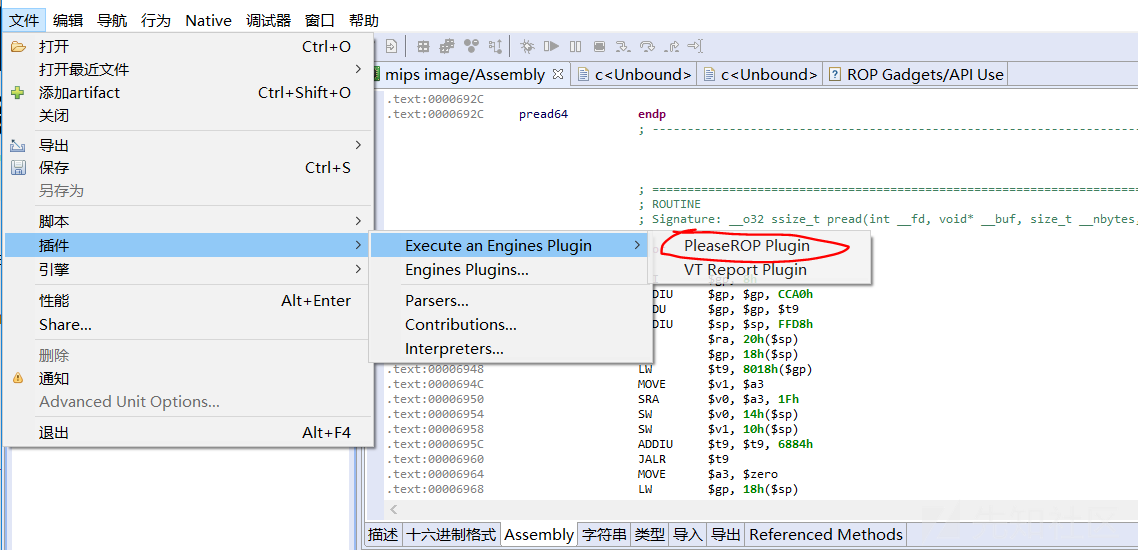
找到的结果可以在下面位置找到

binwalk完整安装
一定要安装完整的版本不然有些固件解不了。
http://blog.csdn.net/qq1084283172/article/details/65441110gdbserver
各种平台的静态编译版本
https://github.com/mzpqnxow/embedded-toolkit总结
很简单,就这样
参考链接:
http://blog.csdn.net/qq1084283172/article/details/70176583
注: